
A little context
There is an alternative to the steps listed below. I have not tried it, but the community has put together an XNA Refresh package on CodePlex that should achieve the same goals. There are additional details about this refresh on the Microsoft Developer Network. Of course, there’s still hope that Microsoft will provide official support. If that is something you’d like to see, I recommend you sign the petition.
Finally, remember that MonoGame offers the ability to deploy XNA-based games on Linux, MacOS, Android, iOS, and even the PlayStation. Just know that you’ll need Xamarin’s tools for Android, iOS, and Mac deployment. This works with Visual Studio or their own update of MonoDevelop, that is: Xamarin Studio.
In the mean time, whichever XNA and IDE you choose be aware that Visual Studio version numbers are a little confusing:
| Common Name | Internal Name |
|---|---|
| Visual Studio 2008 | Version 9.0 |
| Visual Studio 2010 | Version 10.0 |
| Visual Studio 2012 | Version 11.0 |
| Visual Studio 2013 | Version 12.0 |
Step by step guide:
(This has been adapted and updated from an old Stack Overflow post).
- Install Visual Studio 2010 (Visual C# 2010 Express should be sufficient)
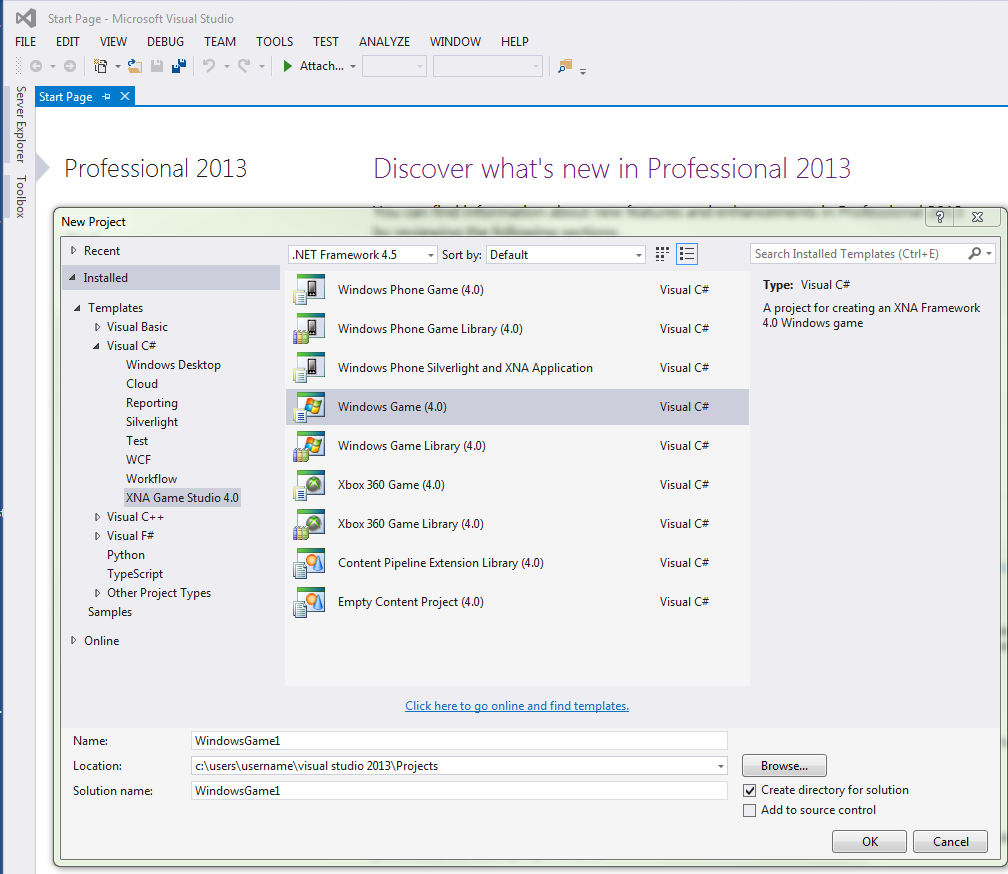
- Install XNA Game Studio 4.0
- Install Visual Studio 2013
- Copy XNA Extensions from the Visual Studio 10 extensions directory to Visual Studio 13:
- Run Command Prompt as Administrator (find cmd.exe and right-click “Run as Administrator”)
- Paste the following code into the terminal window:
xcopy /e "C:\Program Files (x86)\Microsoft Visual Studio 10.0\Common7\IDE\Extensions\Microsoft\XNA Game Studio 4.0" "C:\Program Files (x86)\Microsoft Visual Studio 12.0\Common7\IDE\Extensions\Microsoft\XNA Game Studio 4.0"
- When prompted, “XNA Game Studio 4.0” is a Directory .. so press “D”
- Use your favorite text editor to update the supported version. That is, in the newly created folder edit the file “extension.vsixmanifest” to support VS13 (that is, Version 12.0), replacing the following section of XML:
        VSTS
        VSTD
        Pro
        VCSExpress
        VPDExpress
With:
VSTS VSTD Pro VCSExpress VPDExpress - Additional steps if you’ve run Visual Studio 2013 at least once:
- Delete the Visual Studio 2013 cache files by pasting the following into the terminal:
del %localappdata%\Microsoft\VisualStudio\12.0\Extensions\*.cache
- Finally, let Visual Studio 2013 know that you have new extensions available. Again, paste the following into the terminal:
"C:\Program Files (x86)\Microsoft Visual Studio 12.0\Common7\IDE\devenv.exe" /setup
- Delete the Visual Studio 2013 cache files by pasting the following into the terminal:
That’s pretty much it. For more information and source details, check out here and here.
2 comments on “XNA 4.0 for VS 2013 – Step by Step”
Is there any particular reason to use XNA over Monogame now that Microsoft has decided to stop continuing it’s development? The only advantage that I can think of is deploying to the Xbox 360, but Monogame seems to have a number of deployment options that XNA doesn’t and the next-gen console user bases will no doubt continue to grow.
NOTE: I’ve never actually used Monogame, I’ve only heard that it’s easy to switch between the two.
MonoGame is built on XNA Framework and should be installed in addition to allow for the various additional deployment options (as noted in the post). In addition to Xbox 360 deployment, the XNA base offers the content pipeline as well as Xbox and Windows Live support for PC and Xbox 360.